
Integrating Signable with HubSpot
We here at Signable are always looking to make your working day that little bit easier. With our HubSpot integration, you can make short work of contact management within everybody’s favourite CRM!
With the Signable HubSpot integration, you’ll be able to view the status of any envelope that has been sent in Signable to any of your HubSpot contacts!
First, let’s look at how we get it set up. The first thing to note is that you’ll need to be a Super Admin to get this set up, for more information on User Roles, click here.
Step 1: Signable Set-Up
-
From your Signable account, select your name towards the top-right, then click ‘Company Settings’ - then, click the ‘Integrations’ tab.
- Next, click ‘Install’ under the HubSpot card to be taken to HubSpot. You’ll be met with a page like this:
Now, select the HubSpot account you’d like to link with Signable and click ‘Choose Account’.
-
You’ll then see a page breaking down the permissions that will need to be approved to connect Signable, select ‘Connect App’.
-
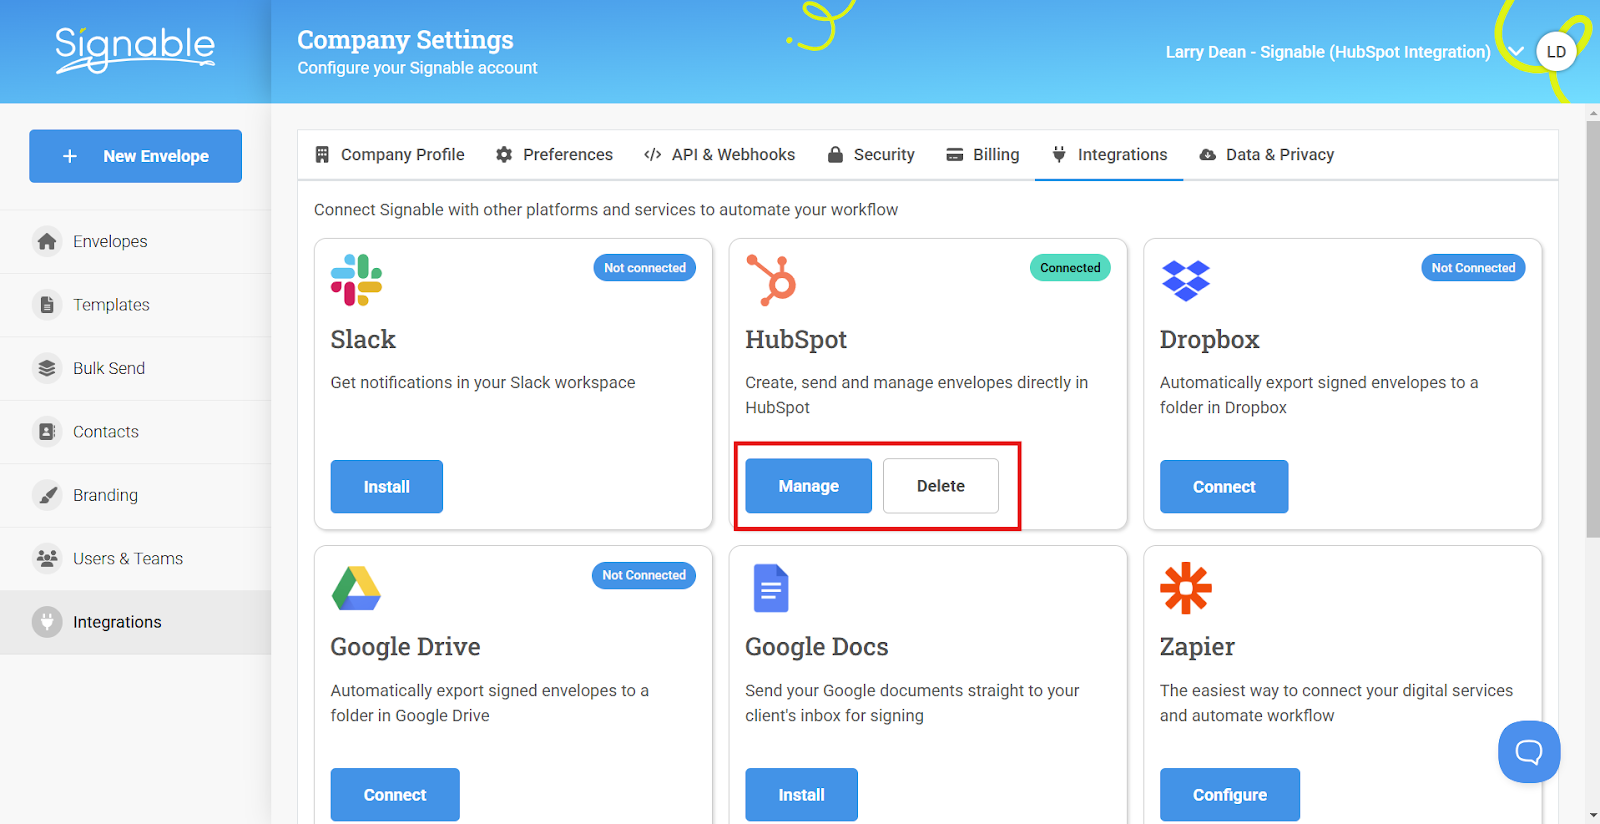
You’ll then be plonked back onto the Signable integrations page, now complete with a shiny new ‘Manage’ button for your HubSpot integration!
Now that we’ve got Signable connected, let’s make sure you’re making best use of this brand new integration - onto HubSpot!
Step 2: HubSpot Configuration
- Click ‘Manage’ on the HubSpot card from within your Signable integrations tab to be taken to your HubSpot Integrations tab.
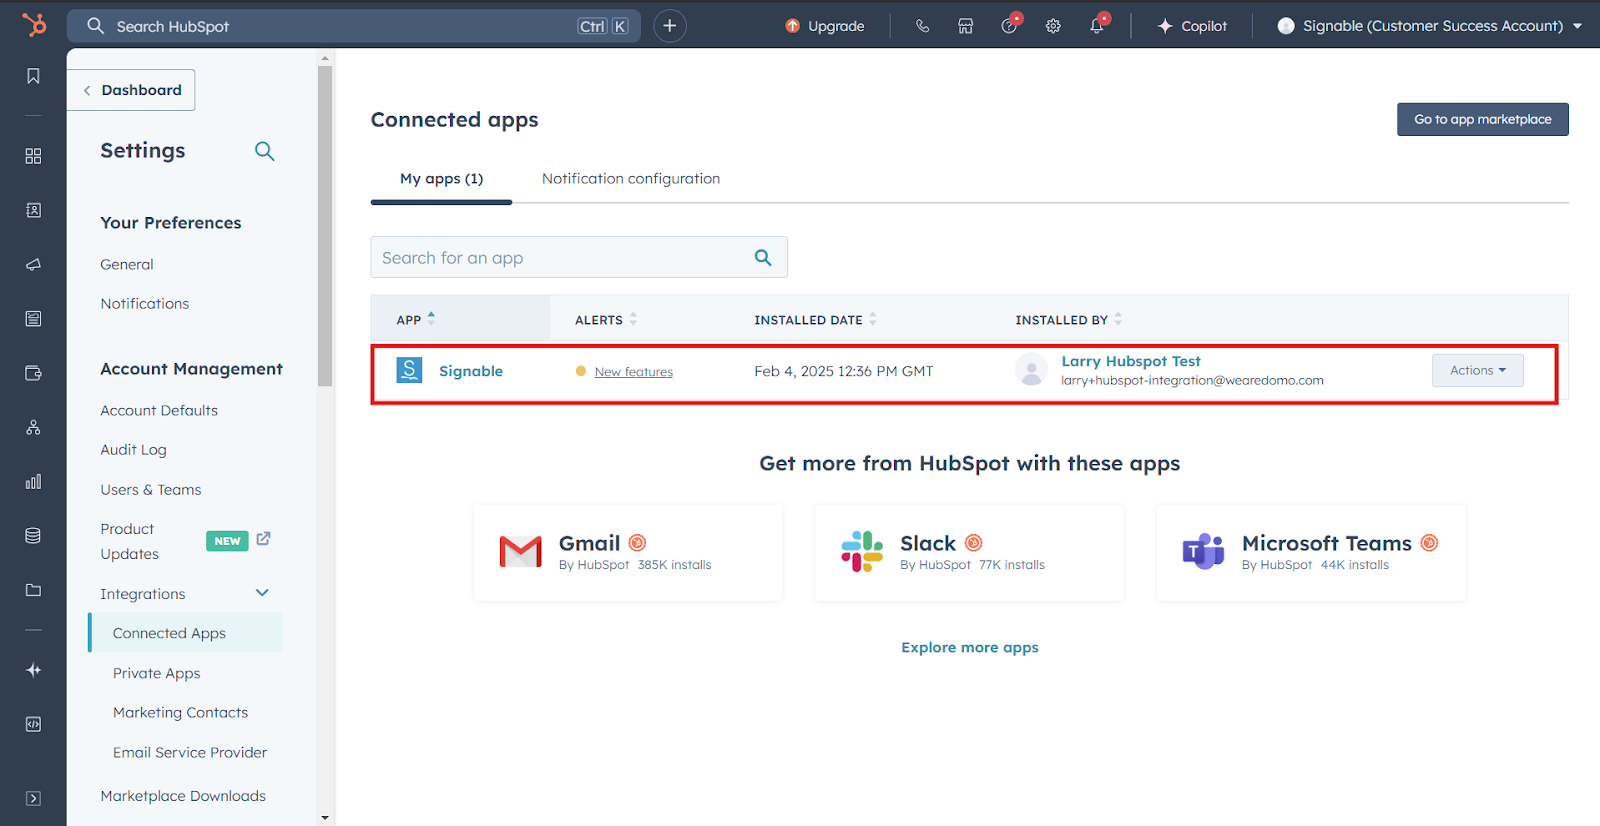
Here you’ll see all of your current HubSpot integrations, in this case - I’ve only got Signable active click the ‘Actions’ dropdown and select ‘Go to Settings’.
-
Click the 'App Cards' tab. This section is setting where your Signable data will show up on HubSpot - at present, our data can only be viewed as a central card - select ‘Manage Locations’ (Pictured Below)


-
You’ll be taken to a page where you select which Object view to edit (Contacts, Companies or Deals), in each case - the process is exactly the same, tick the 'manage Signable envelopes' tickbox for each object's tab. Then hit 'Save'.


Job done! From now, you can view the status of any envelopes attached to Contacts, Deals or Companies as well as send brand new envelopes for signature. You can even use them to automate your workflow - all from within HubSpot!